
The candles have always been a token of warmth, peace, and comfort. Candles will give that special glow that makes everything perfect, whether it is a chilled night in, a relaxing bath, or a romantic dinner. But do you know it is not so hard to make candles at home as you think? All you need is some creativity and small ingredients, and you can make beautiful, fragrant candles that could be used personally or as gifts or a small business.
In this guide, you will find out how to create your own candles at home step-by-step and some of the things you could do to package them better in Candle Boxes to ensure they are safe and look just as beautiful.
Step 1: Prepare Your Candle-making Material
You will need only some simple items before you start. They are readily available on the internet or in nearby craft shops. Here’s what you’ll need:
Wax: The main ingredient. Soy wax, paraffin, beeswax, or coconut wax can be used. Soy wax is user-friendly and environmental friendly.
Wicks: These are available in varying thicknesses. Ensure that you select one that is of the size of your candidate.
Fragrance oils: Select your preferred scent: lavender, vanilla, and cinnamon are all popular options.
Dye/ color chips: These are Optional if you want to add some color.
Containers: They can be made out of glass jars, tins, or ceramic pots.
Boiler containing two parts: To melt the wax, it is recommended to use a boiler (with two parts).
Thermometer: A thermometer will be used to check the temperature of the wax.
Stirring tool: May be a wooden rod or a spoon.
Step 2: Prepare Your Workspace
It can be quite a messy affair when making candles, and therefore, find a flat surface and cover it with newspaper or parchment paper. Store a towel in case of spills, and ensure a ventilated space.
Prepare your containers and insert the wick at the bottom center by means of a dab of a melted piece of wax or a wick sticker. A pencil or a clothespin can be used to hold the wick up.
Step 3: Melt the Wax
Now it’s time for the fun part!
Pour the water into the bottom pot of your double boiler and place it on medium heat.
Place your wax in the top container.
Stir the wax often to melt gradually.
Monitor the temperature. The majority of waxes melt at 170 deg F to 180 deg F (77 deg C to 82 deg C). As soon as it is melted, take it off the heat.
Step 4: Add Fragrance and Color
As the wax solidifies a bit (about 150 deg F or 65 deg C), it is time to put in the scent and color.
Add any fragrance oil that you prefer. Generally, one ounce of oil added per pound of wax creates a very intense scent; however, confirm your own instructions on the wax.
Insert some drops of dye or color pieces, in case you desire it to be colored. Mix and pour into a saucepan.
Be innovative in your decisions! The combination of butter and rose, and jasmine is always likened to the combination used regarding sandalwood and vanilla.
Step 5: Easy to pour the Wax into Containers
At present, cast off the melted wax into your prepared containers carefully. Pour slowly to avoid bubbles. Allow some half an inch of room at the head of the vessel.
Allow the candles to cool before the room temperature. They may not be moved when they are being set. It may be hardened for four or six hours, depending on the size.
Step 6: Trim the Wick and Finish
After the candle is completely hardened, cut off the wick to 1 /4 inch above the surface. This makes the burn of the candle clean and uniform each time you light the candle.
Your personal touch can be personalized by adding ribbons, tags, or stickers to your containers.
Step 7: Pack it and Store.
Once you have prepared your candles, the next thing that you need to do to keep them safe is the packaging. You can use them as a gift or sell them. And that is where Custom Candle Boxes and Candle Shipping Boxes come in.
These boxes will ensure the protection of your candles against dust, sunlight, and damage when the candles are being transported. They also help your candles to look professional and attractive. In case you sell handmade candles, your packs will tell more about your company. The packaging should be beautifully done, and it should shield your candles as well as attract customers.
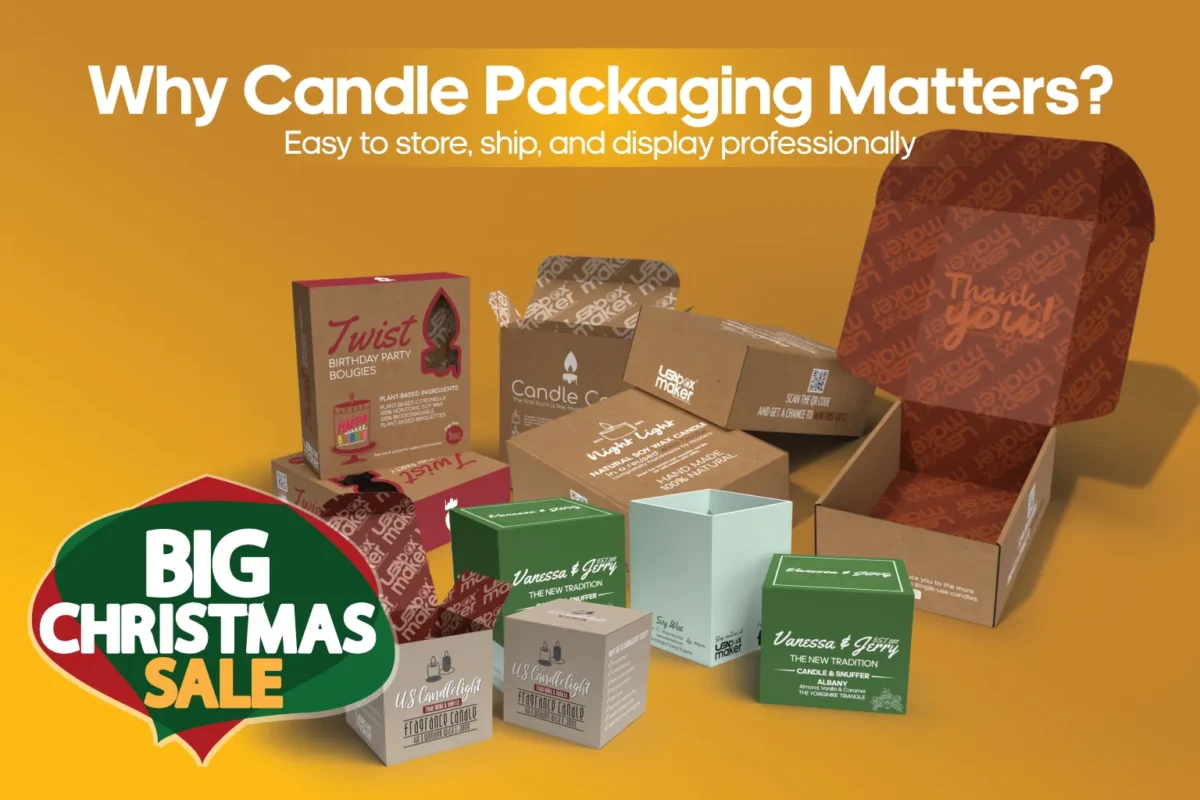
Why Candle Packaging Matters?
- Protection: Keeps candles safe from damage, heat, and dust.
- Presentation: Makes your candles look elegant and gift-ready.
- Branding: Reflects your brand’s style and quality.
- Convenience: Easy to store, ship, and display professionally.
Candle-Making Tips for Beginners
These are some of the additional advices for beginners:
Test the smell: Blend various fragrance oils until you come up with a blend.
Have good wax: It influences the duration of the candle burn as well as the retention of perfume in the candle.
Do not overheat: Excessively hot wax may burn the fragrance oils and produce uneven texture.
Test prior to sale: To check scent throw and performance, burn one candle per batch to test performance.
Label it: Add fragrance names, burn time, and safety instructions in case you are selling your candles.
Creative Candle Ideas
When you have all the basics under your belt, then be creative with your candle-making!
Layered candles: This method is used to represent the layer in various colors of wax to have a rich look of a gradient.
Dry flower candles: Put some dried flowers to make it natural and romantic.
Shaped Candles: Personally crafted silicone candles will be made to look like a heart, or star, or bell shaped.
Scented Soy Melts: Prepare small pieces of wax to put in oil burners and not full-size candles.
These are small touches that may make your candles shine, particularly when they are done as gifts or business.
Conclusion
The preparation of candles is easy, enjoyable, and satisfying. Using several basic things, you will be able to make beautiful scented candles to participate in or give away. And with heavy, fashionable Candle Boxes you can store them secure, and fine and up to the market. It is high time to create your candles and express yourself!
If you want to run a small business, Candle Boxes Wholesale is a smart move. It saves money, ensures consistency, and helps you maintain quality across large batches.
When your goal is to appeal to high-end buyers, Luxury Candle Boxes are the way to go.
FAQs
Q1: What type of wax is best for beginners?
Soy wax is ideal for beginners because it’s easy to work with, burns cleanly, and holds fragrance well.
Q2: How long should I let my candle cure before lighting it?
Let your candle cure for at least 24–48 hours to allow the scent to develop fully.
Q3: Can I reuse candle containers?
Yes! Just clean out the leftover wax and reuse the container for your next candle.
Q4: How do Candle Boxes help?
Candle Boxes protect your candles from damage and make them look more professional for gifting or selling.